Reverse a Number :
Since every digit when divided by 10 gives the
remainder equal to the unit place
digit of that number and we need to set that unit place digit of number to the
last place digit of the number than again set the 100’s digit of that number to
the second last place of the given number and so on.
To get the remainder of a number, a modulus (%)
operator is used in the program. The program is shown below :
 import java.util.Scanner;

 class ReverseNumber
 {
      public static void main(String[] args)
      {
           Scanner scan = new Scanner(System.in);

           //scan for the number
           System.out.println("Enter the number you want to reverse");
           int n = scan.nextInt();

           //initialize a variable to zero in which we will store reverse no.
           int reverse = 0;

           //make a while loop till the number will zero
           while(n != 0)
           {
                //first multiply the reverse no. with 10 to shift its digit to next place
                reverse = reverse * 10;
                //add the remainder of number/10 to the reverse no.
                reverse = reverse + n%10;

                //divide the number by 10 to reduce its one place
                n = n/10;

                //if n==0 than exit from the loop else repeat
           }

           //print the reverse number
           System.out.println("The reverse number is "+reverse);
      }
 }
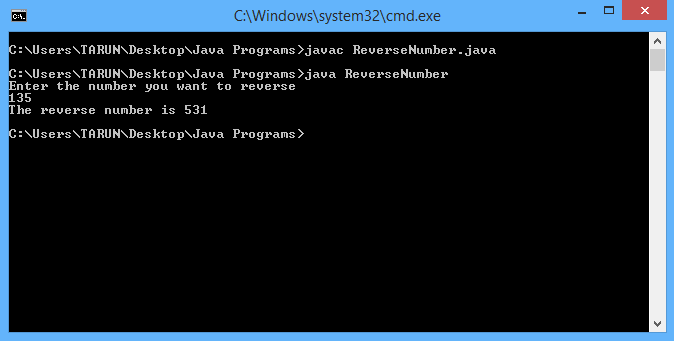
Output :
In this program we repeatedly find the remainder or
unit digit of number by modulus operation with 10 and than reduce the digits by
dividing the number with 10 to get the next unit digit of the given
number.